Scheduler

Updated:

Table of Contents

Scheduler Explained

  • Utilize various search options to search for patients
  • Create Appointment Types
  • See a Key of all active appointment types and their corresponding color.
  • Users can view Per Month stats such as:
    • Total Appointments
    • First Time Appointments
    • Appointments Booked Online

Note:

  • Globe Icon – The appointment was created online by the patient.

  • Semicircle Icon – The appointment is part of a recurring series.

Navigating the Scheduler

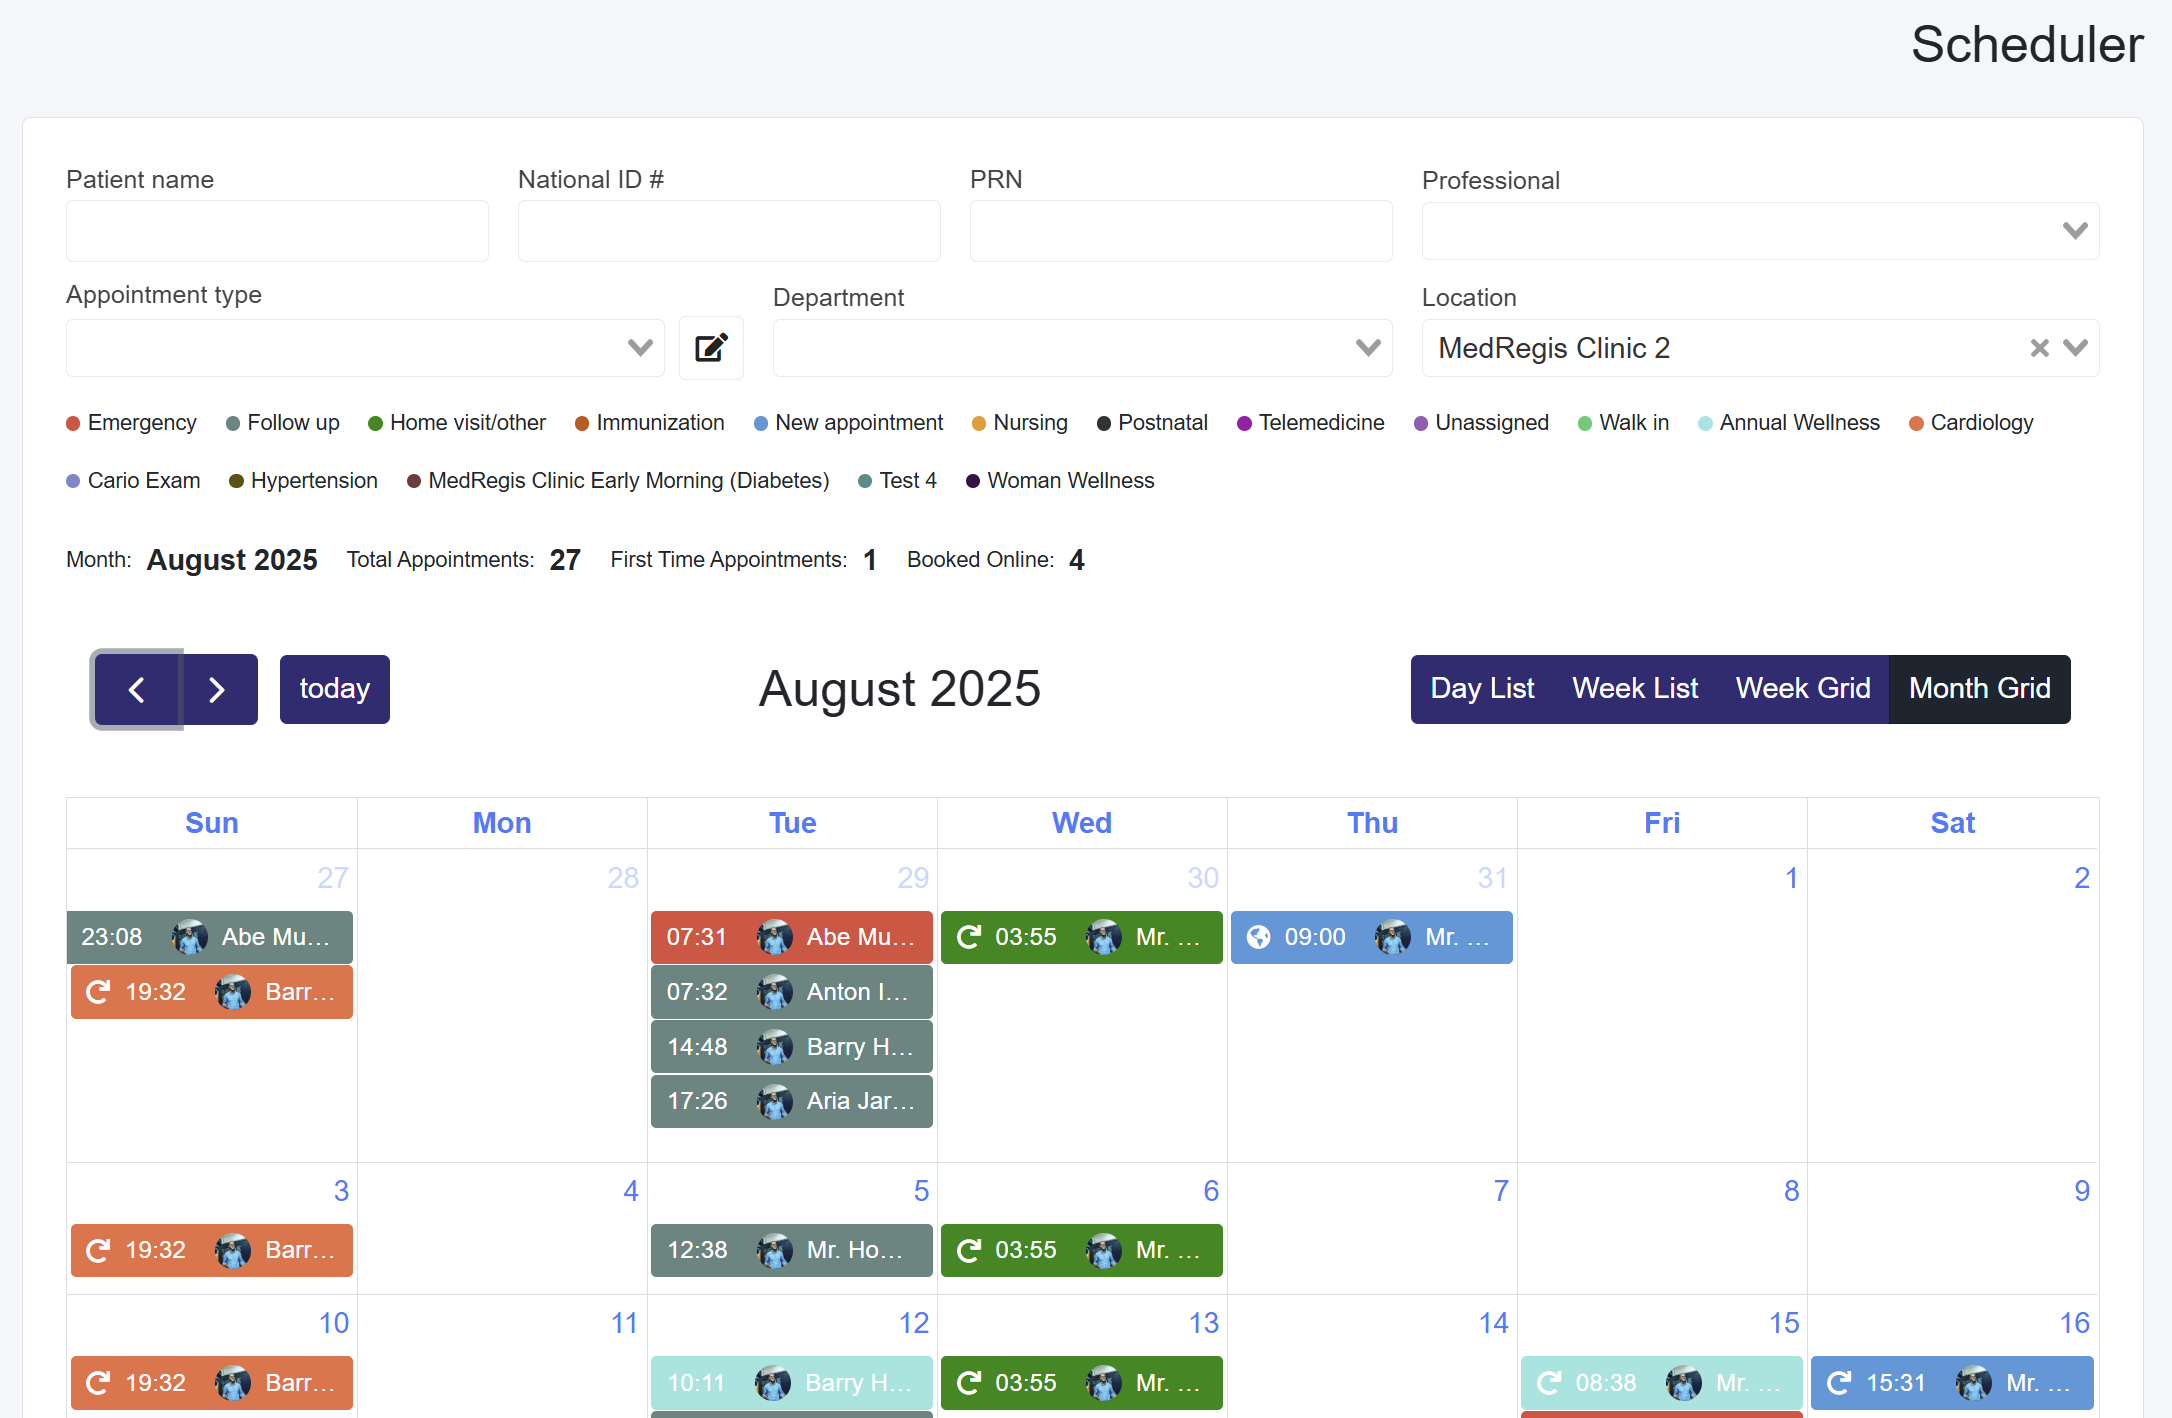
By default, the Scheduler is set to the Day List, which shows a list of your appointments for the day. There are 3 other options to view appointments, which are:

  • Week List- A list of the week’s appointments
  • Week Grid - Each day of the week and its corresponding appointments are listed in a column.
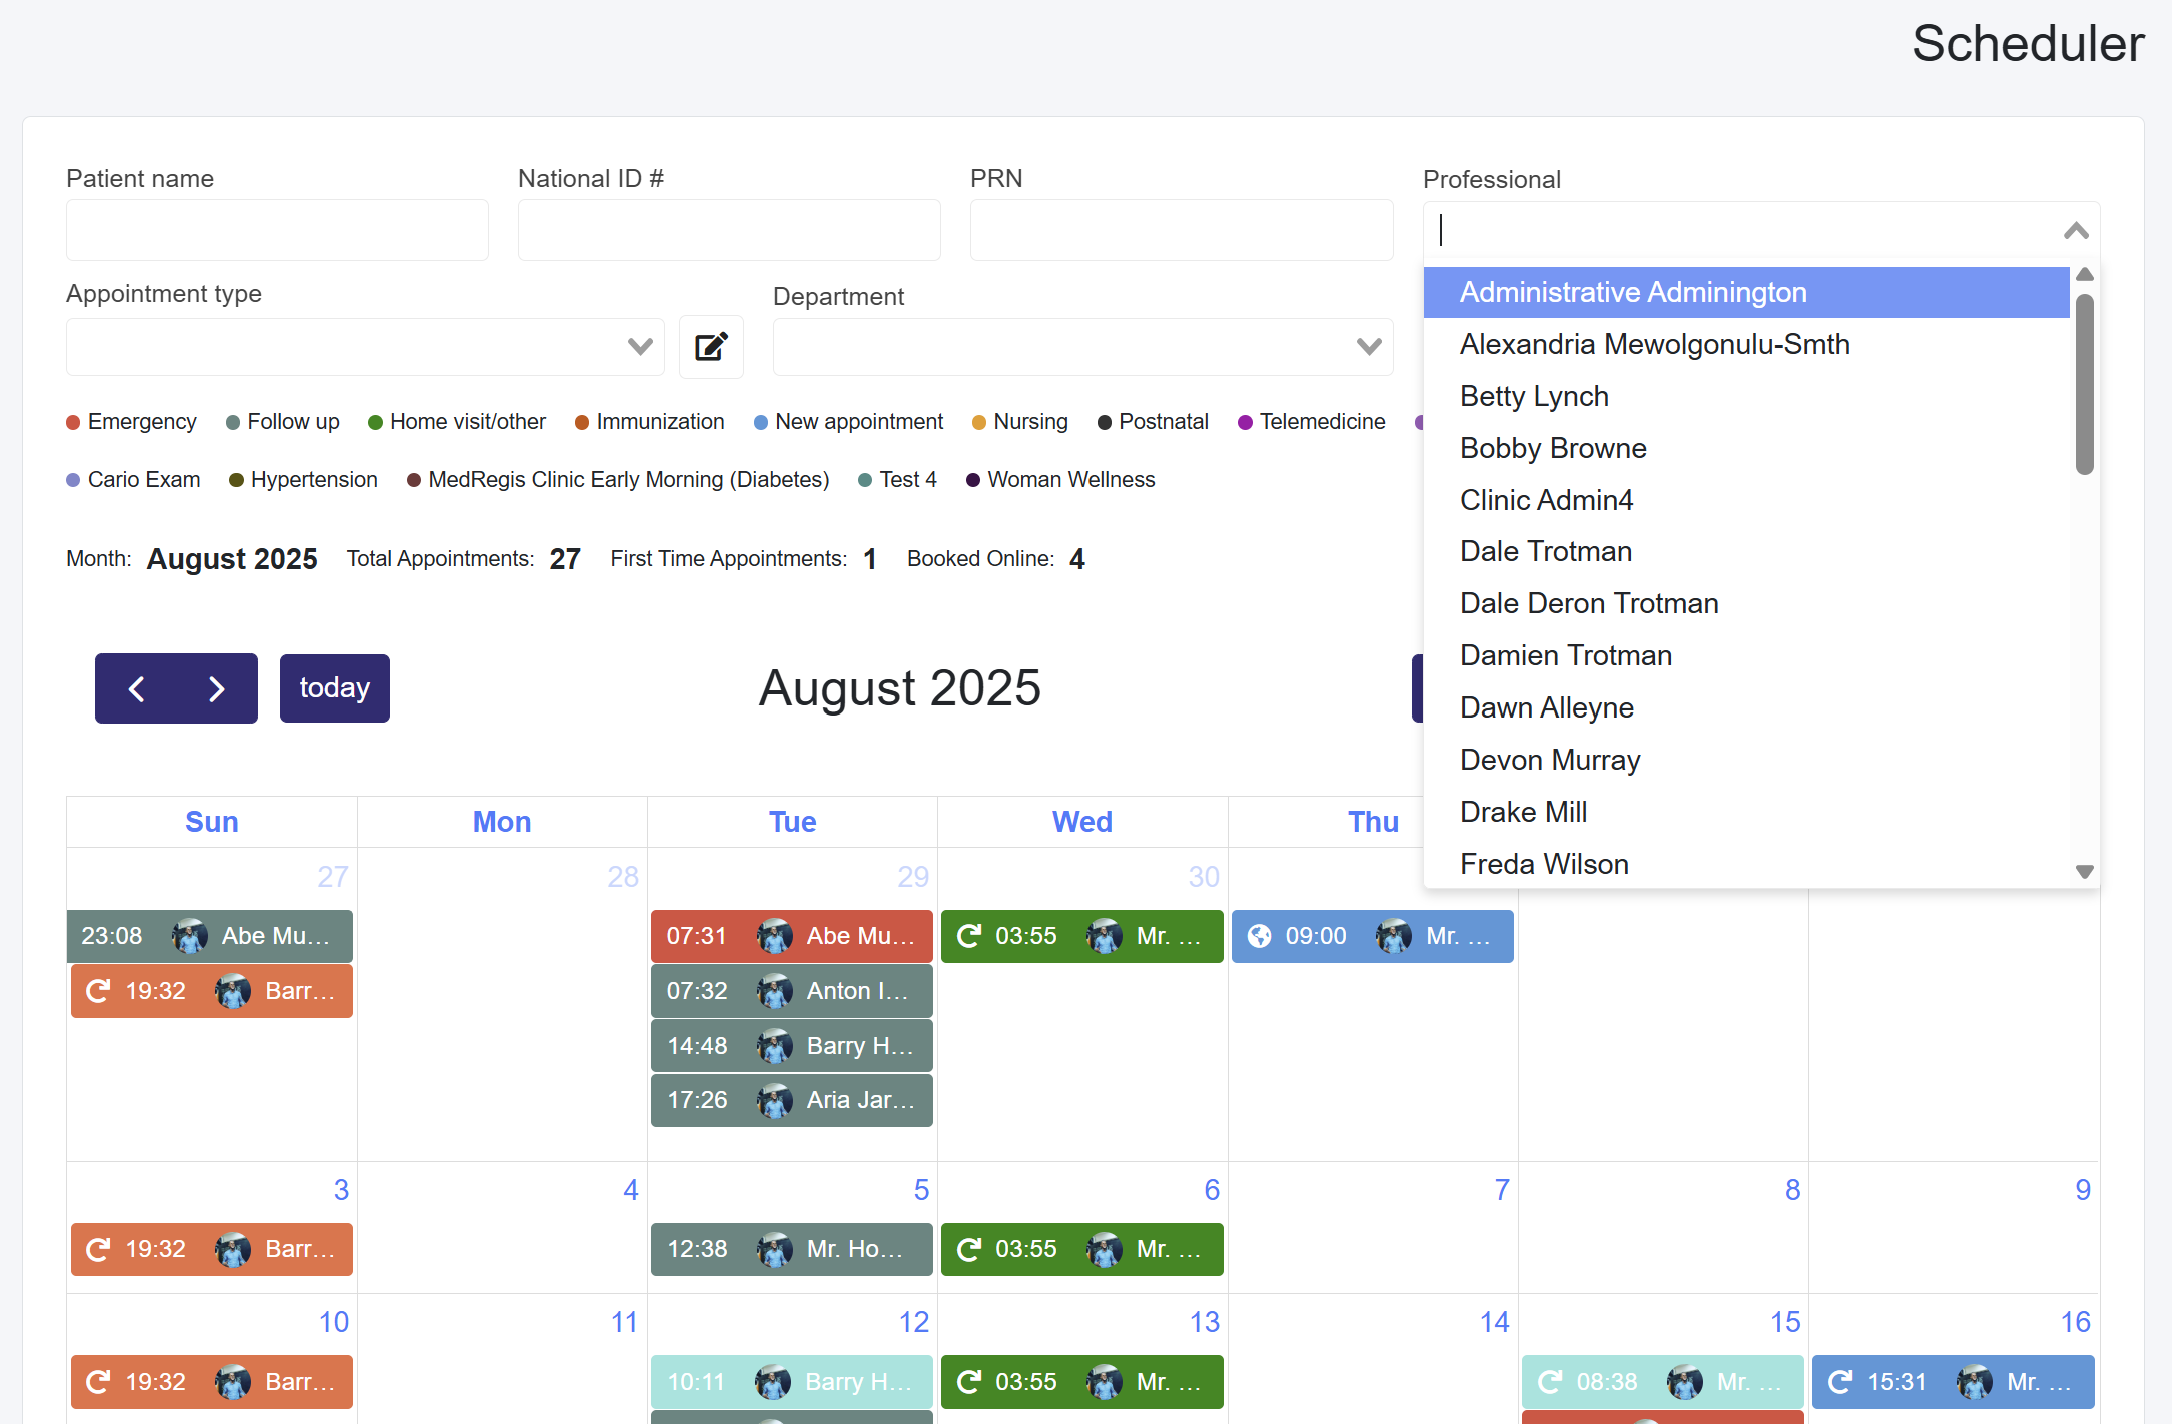
  • Month Grid - Each day of the month, along with its appointments, is displayed in a standard calendar view.

Additionally, the left/right navigation bar, located to the left of the calendar, changes the day, week, or month depending on the view you are in.

Appointment Types Explained


Appointment Types vs. Consultation Types

  • Appointment Types categorize patient appointments.
  • Consultation Types define the consultation services billed to the patient.

Managing Default and Custom Appointment Types

  1. Select the Scheduler page.
  2. Next to the Appointment Type dropdown, click the pad and pencil icon to open the Manage Appointment Types popup.
  3. Global Appointment Types:
    • Default types in the system.
    • Activate or deactivate them by selecting the checkbox and saving with the respective disk icon.
  4. Custom Appointment Types:
    • Types created by your clinic.
    • Activate or deactivate them by selecting the checkbox and saving with the respective disk icon.
    • Edit names and save changes with the disk icon.

Quickly Creating Appointments (Scheduler)

From the Scheduler Page

    • Select the Medical Professional from the dropdown menu.
    • Click the desired date on the calendar using the Week or Month grid view.
    • A pop-up will appear where you can enter the Appointment Information.
    • Click Create to finalize the appointment.
    • The new appointment will now appear on the calendar.
Scroll to Top