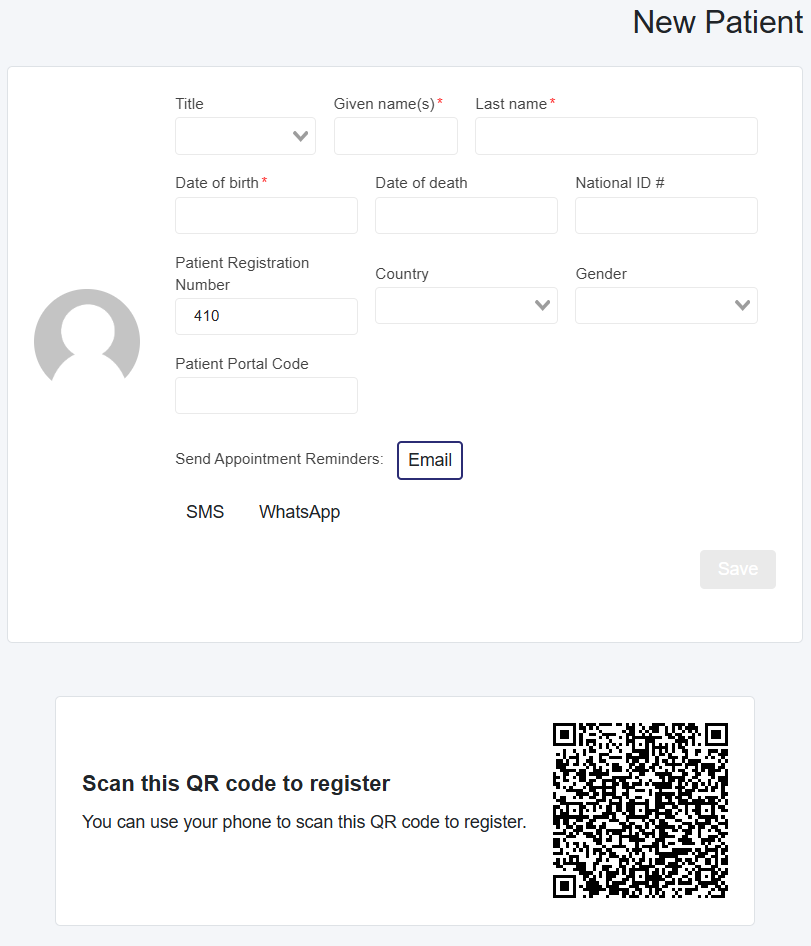
Set up a tablet, laptop, or PC in your waiting area.
Log in to your Patient Self-Registration
Set a sign or let your new patients know they can self-register.
When new patients create their profile, an alert will show on the administrative users, the clinic admin, and the clinic admin plus profiles.
Managing Patients that Self-Register (Administraive Staff and Admins)
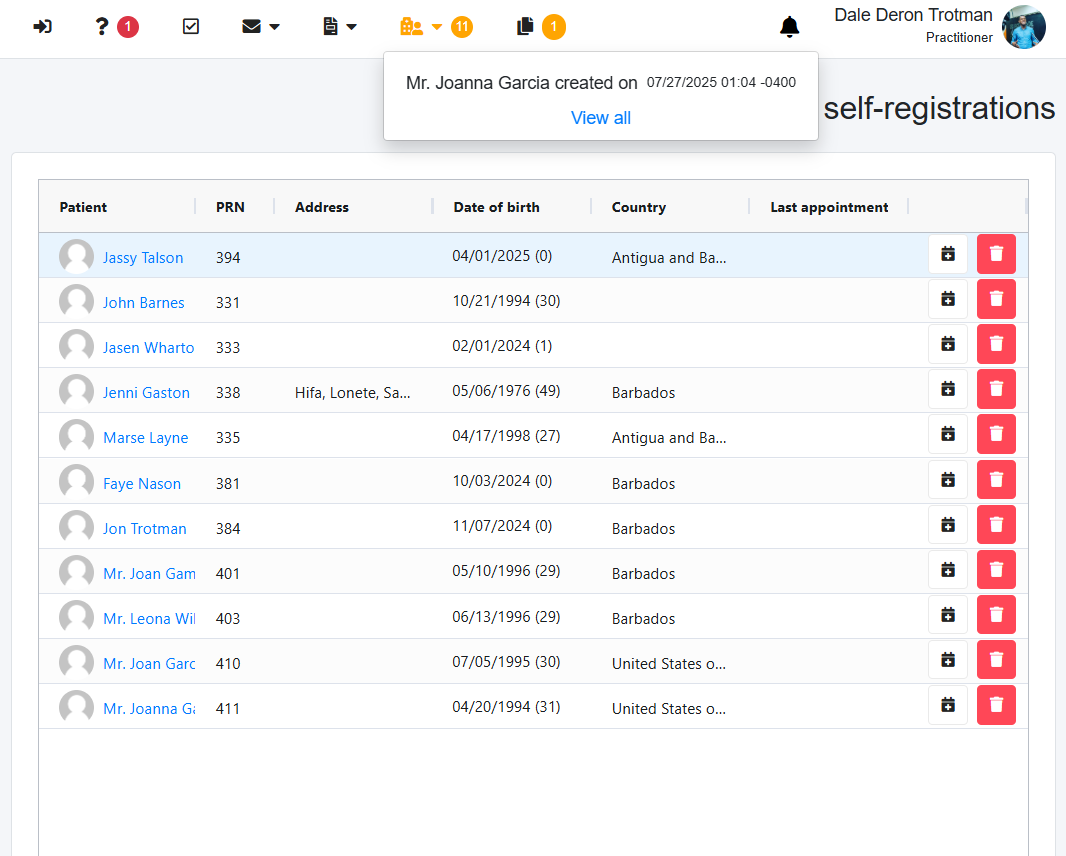
After a patient creates their profile, the administrative user, who primarily manages patient accounts and appointments, will notice the Patient Self-Registration icon (depicted as a building with a male icon) highlighted in yellow. This yellow highlight indicates that one or more patient profiles have been created that the administrative user has not yet reviewed.
Next to the icon, a yellow circled number will highlight the number of patients created that you have not yet taken action on.
If the building is black, no new patients have been created since the last patient was seen.
Click on the icon. The names of patients created since the last time you clicked the dropdown will appear in the dropdown, along with a View All You can click a patient from the dropdown or select View All to see all patients for which no action has been taken.
The icon will turn black to highlight that no new patients were created.
Look for the patient you want to take action on, and you can either:
Select the calendar icon to create an appointment for that patient, or
Delete that patient with the trash icon
Both scenarios above will automatically remove the patient from the list.