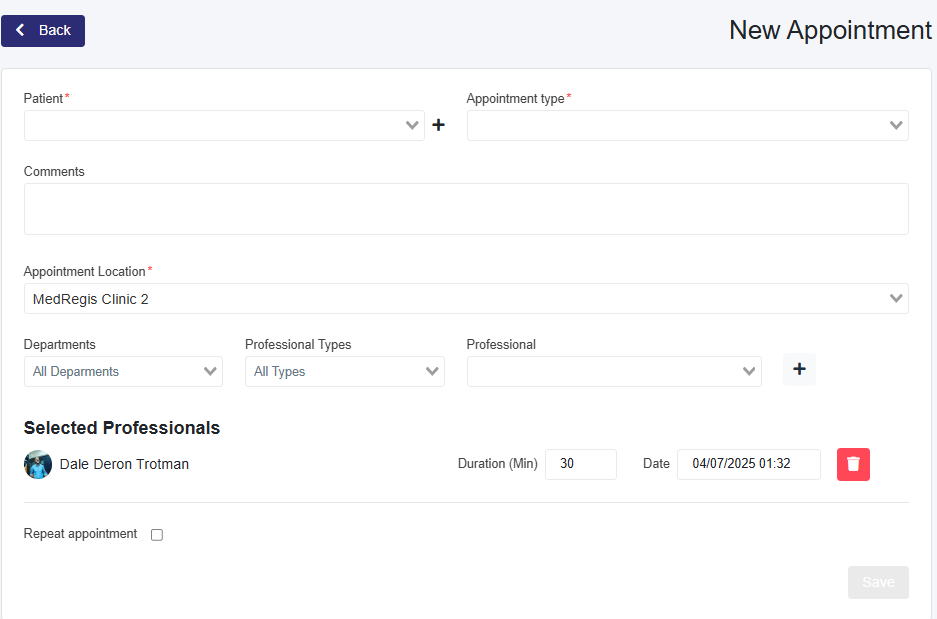
Select the + New Appointment button on the Check-in (Today) page.
Click the + button next to the Patients dropdown. A pop-up will appear.
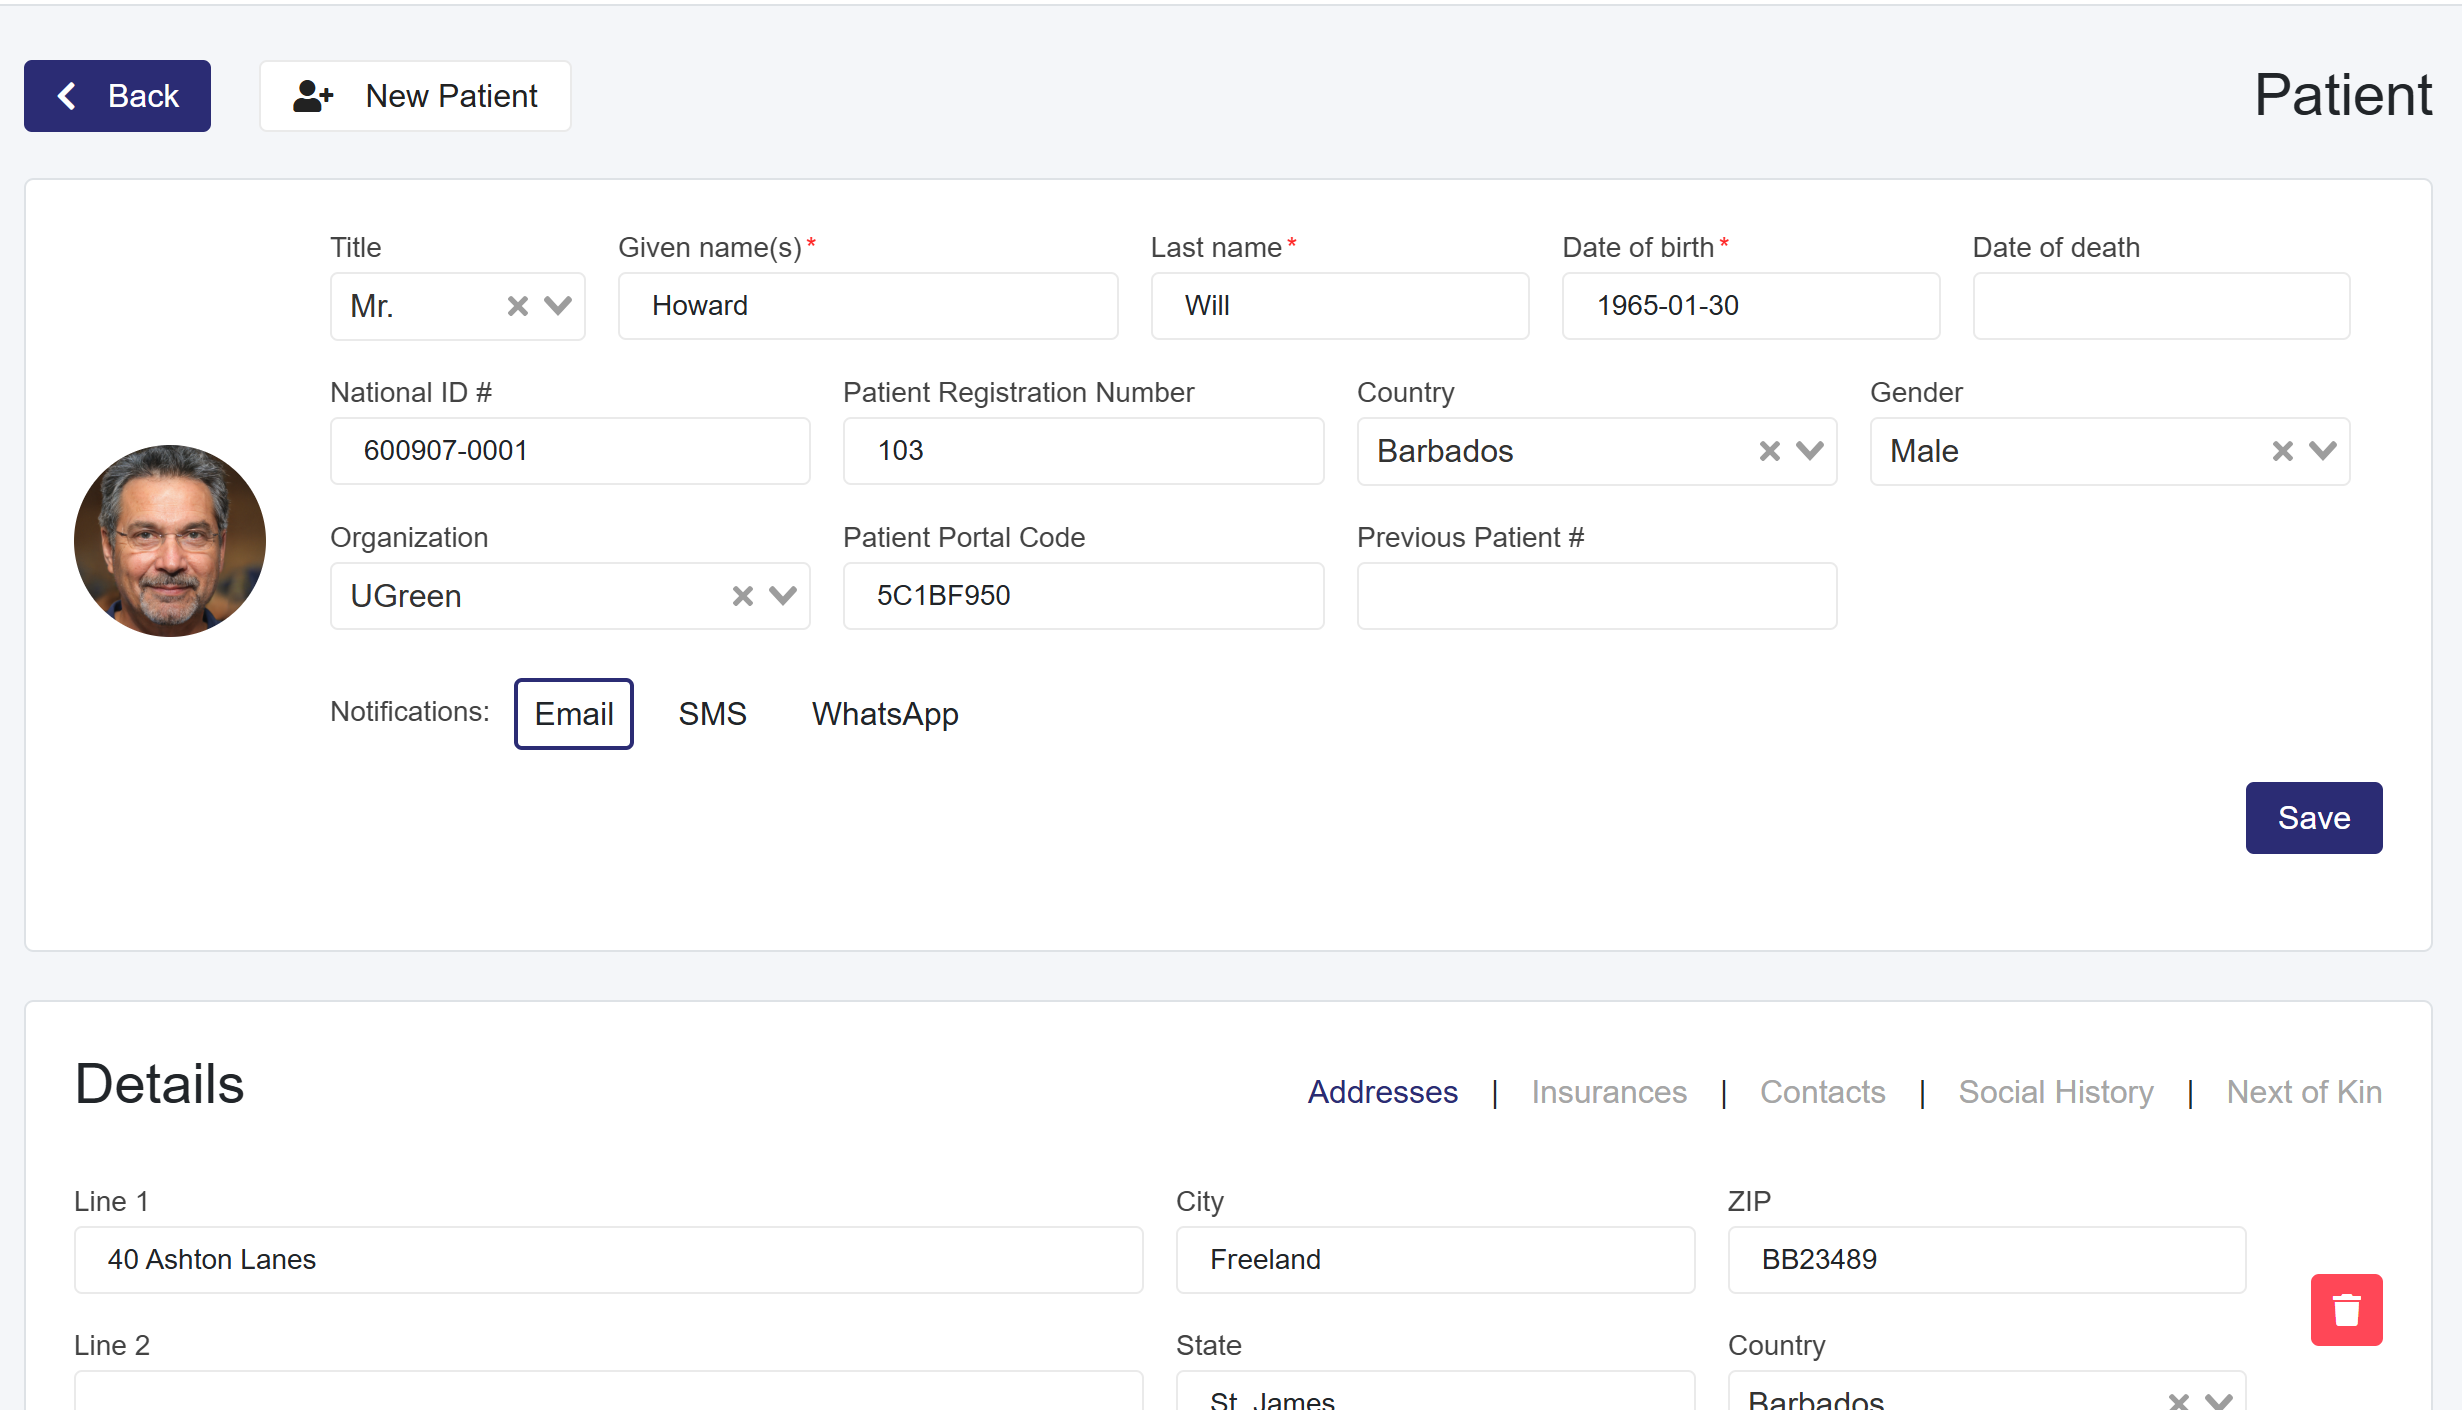
Enter the required patient information. The Name and Date of Birth fields are mandatory.
Click the Save button to create the patient.
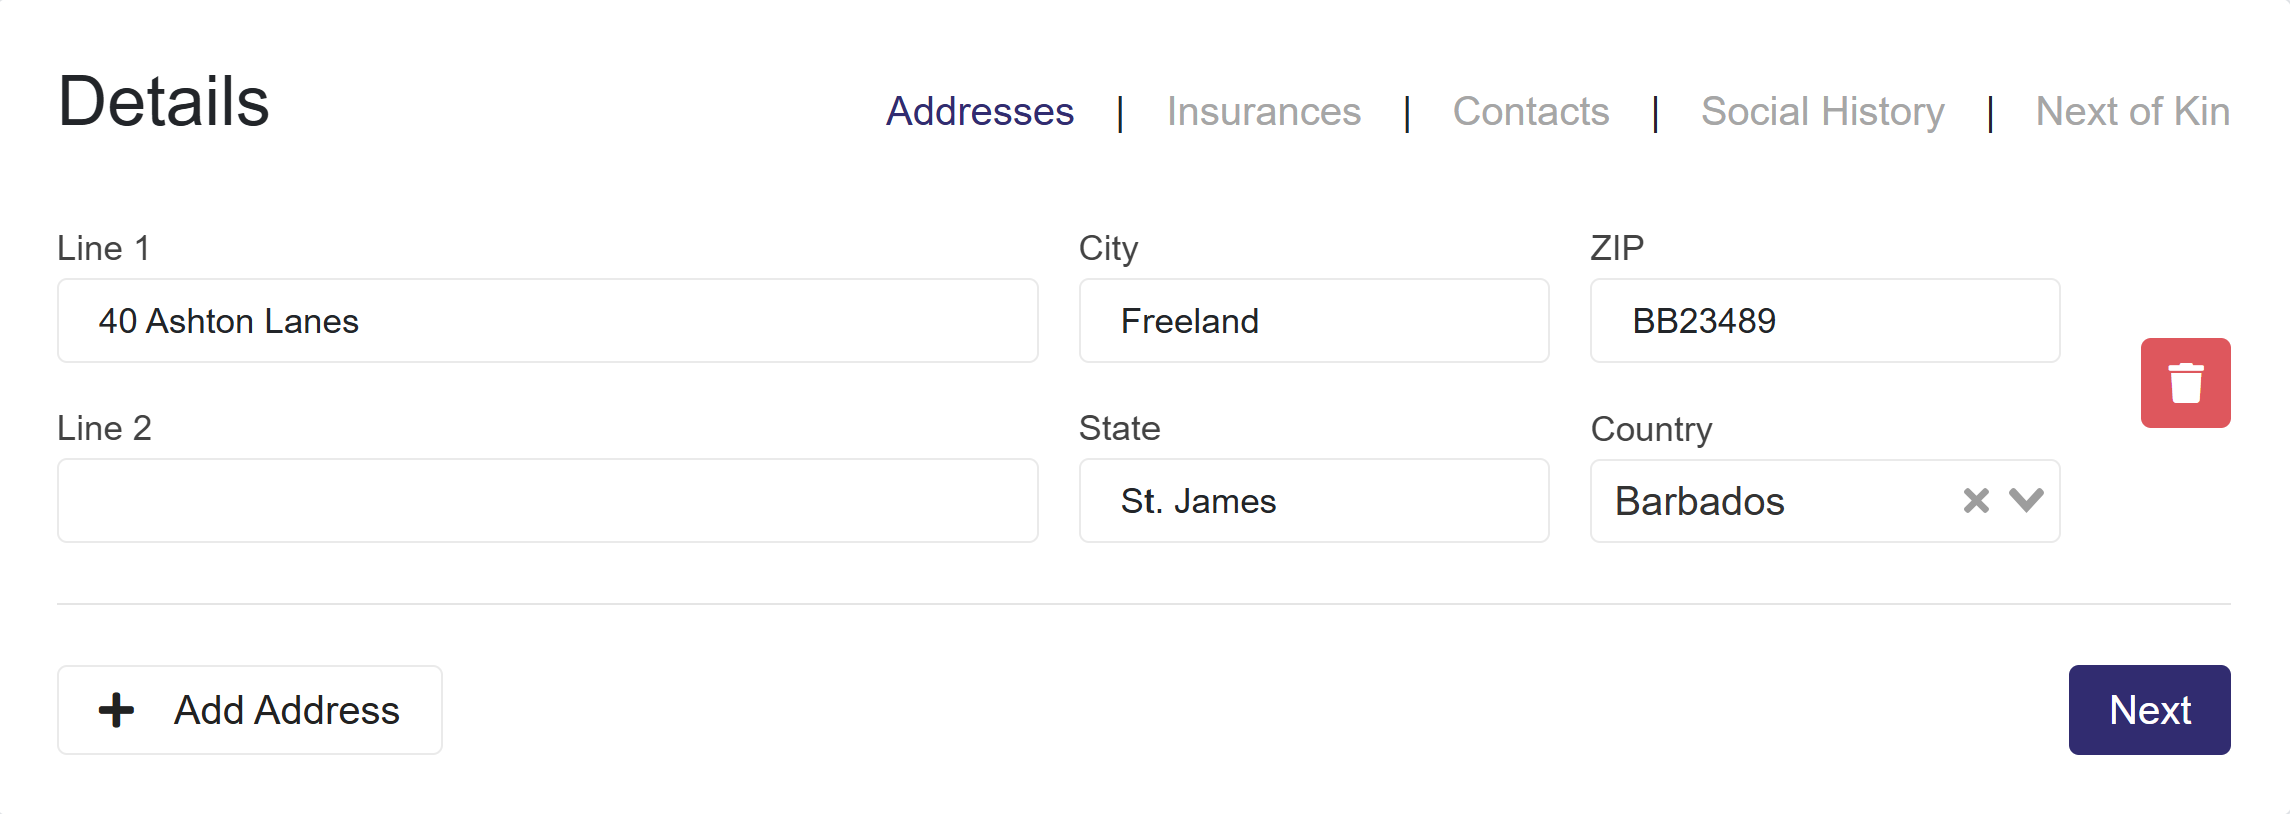
Below, a new section with five tabs will appear: Addresses, Insurance, Contacts, Social History, and Next of Kin. As you navigate through these sections, the information will autosave. On the Next of Kin page, to autosave, navigate to another tab or select Finish.
Close the pop-up when finished. The patient will now be preselected in the Patient dropdown menu.
Proceed to create the appointment.
Creating a Patient from the Patient Page
Select the Patients tab in the left taskbar.
Click the New Patient button. This will navigate you to a new page to create the patient.
Enter the required patient information. The Name and Date of Birth fields are mandatory.
Click the Save button to create the patient.
A new section with five tabs—Addresses, Insurance, Contacts, Social History, and Next of Kin—will appear below. As you navigate through these sections, the information will autosave. On the Next of Kin page, to autosave, navigate to another tab or select Finish.
Edit a Patient Profile
Navigate to the Patients page and search for the patient.
Select the patient from the table, which will load the Patient profile, where users can make edits.