Then, add your Doxy.me profile link to the Telemedicine Link textbox.
Set your Location (optional). If your clinic has multiple locations, a daily reminder will appear, asking you to select your location. However, if you select "Permanent Location" directly below the Location dropdown, it will remain at the location you set in the dropdown without displaying the daily prompt.
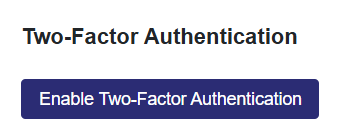
Two-Factor Authentication
Navigate to Clinic Settings
Select the Edit Clinic button
Select the Mandatory 2FA checkbox
This enables 2FA for all users, and every user will, from that point, need to set up 2FA to access the information in the application
_________________________________________________________________________________ Steps for Staff to Enable 2FA
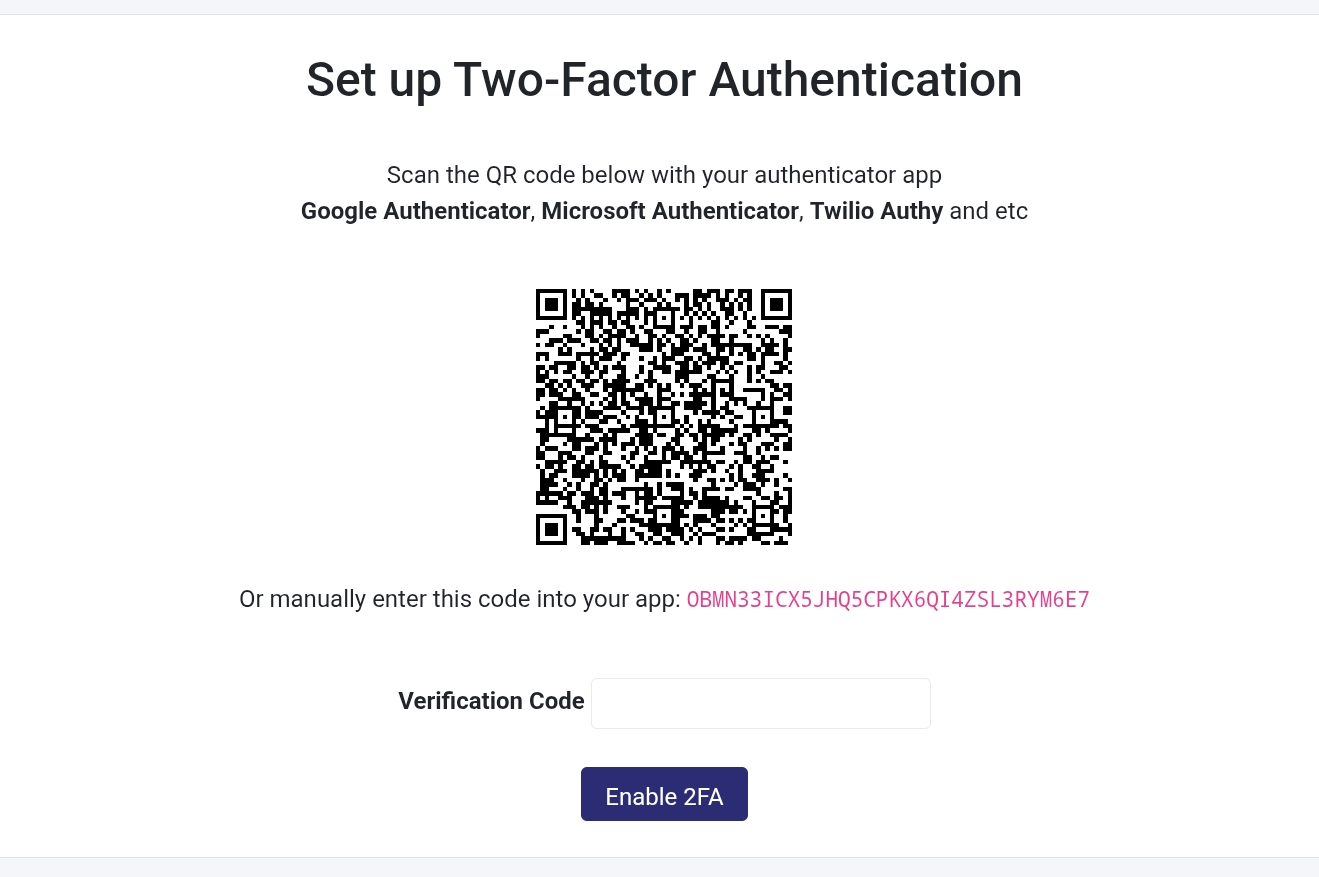
This loads the Set up Two-Factor Authentication page on login.
You have to set up an Authentication app, and we recommend:
Google Authenticator
Microsoft Authenticator
Twilio Authy
Scan the QR Code via one of these apps or enter the code seen manually.
Now that you have a code for your login in your Authentication app, enter that code in the Verification Code section.
Select the Enable 2FA button and 2FA is now active.
Enabling 2FA Individually
Select My Profile (top-right-hand corner with image).
Navigate to the Two-Factor Authentication.
Select the Enable Two-Factor Authentication.
This loads the Set up Two-Factor Authentication page.
You have to set up an Authentication app, and we recommend:
Google Authenticator
Microsoft Authenticator
Twilio Authy
Scan the QR Code via one of these apps or enter the code seen manually.
Now that you have a code for your login in your Authentication app, enter that code in the Verification Code section.
Select the Enable 2FA button and 2FA is now active.
Permissions
Access to Notes- Can ONLY view Notes and not Medical History.
Access to Medical History- Can ONLY view Medical History and not Notes.
Access Notes and Medical History created by professionals in the same category- Can view both.
Shared from Patient Portal
Any patients who have shared access to their patient portal are listed here.
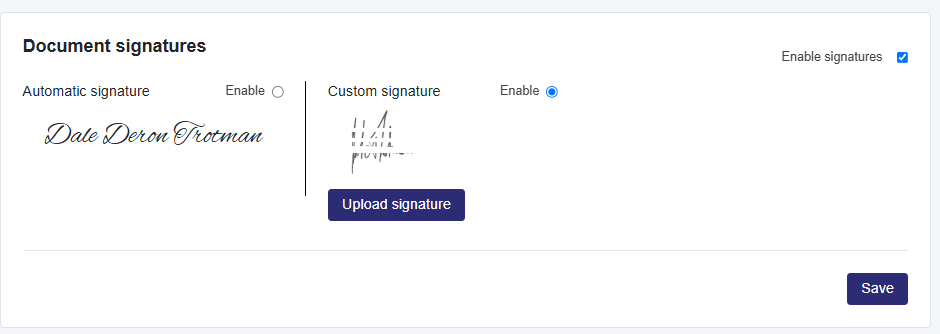
Enable Document Signature (Clinic Admin Plus)
Select the edit icon (pencil) next to the patient to get onto the patient's profile page
Select the enable signatures checkbox to access two options:
Automatic Signature: Generates a signature based on the user’s name.
Custom Signature: Enables users to upload their signature.
Signatures show on Prescriptions and Custom Letters.